Control Handbook
Front to back details on the ways we've designed control of the lytestick.


Button Press
As Simple as it Sounds..
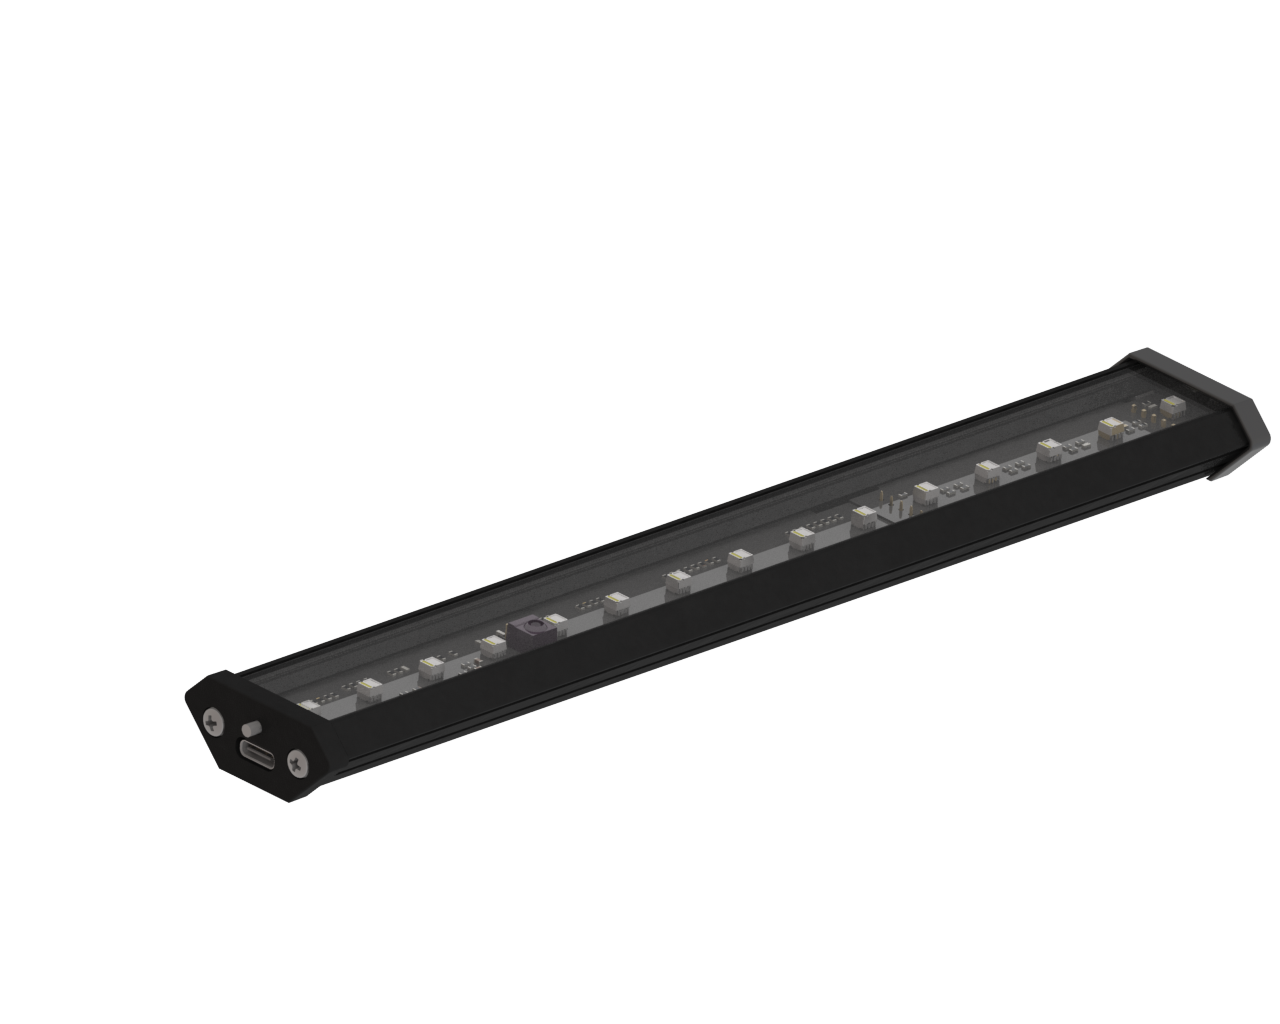
Each lytestick comes with a control button on the endcap as shown in Figure 1.
When the lytestick receives power, it cycles through Red, Green, Blue and White.
After this, it waits to receive input data. Press the endcap button to bring it to life! But be careful, it is BRIGHT!
Press the button to cycle through the following presets:
- 1) Red
- 2) Blue
- 3) Green
- 4) Yellow
- 5) Cyan
- 6) Magenta
- 7) RGB Fade
- 8) Blue/White Crossfade
- 9) White
Figure 1. The lytestick
Remote Control
Another Easy One..
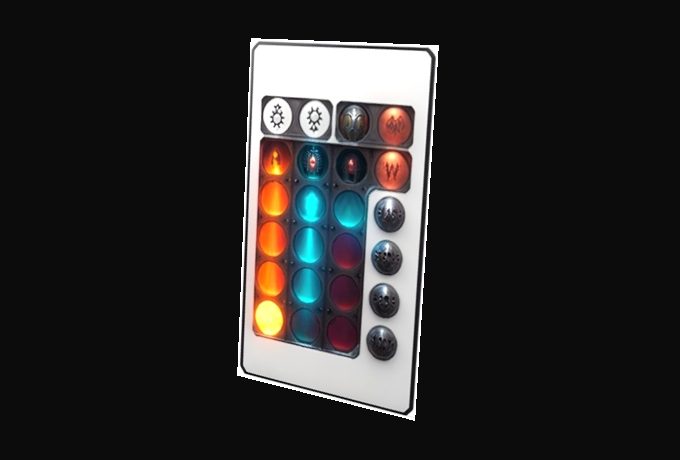
Each lytestick has an IR sensor built into it for Remote Control as shown in Figure 2.
Choose from the rainbow of options of colors and the lytestick will oblige.
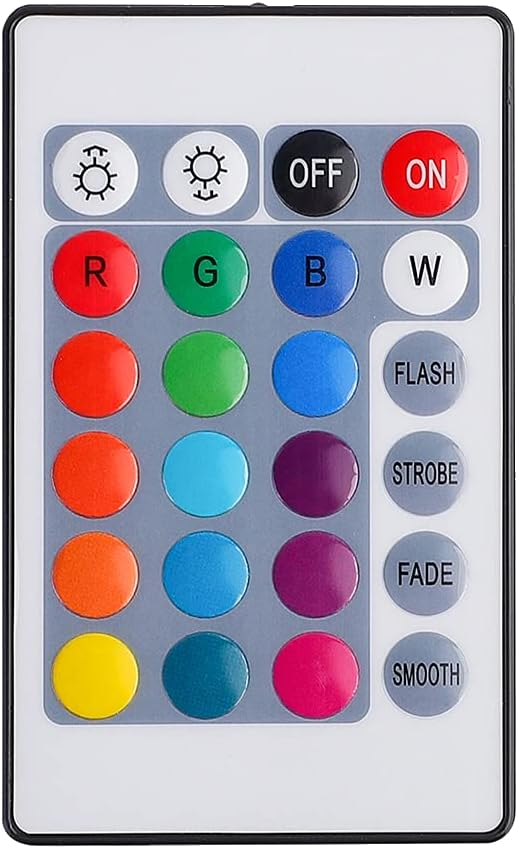
Figure 2. Remote Control
Windows 11 Dynamic Lighting
Now the Fun Begins...
New toys! Windows 11 is now packaged with a built-in lighting controller shown in Figure 3.
While we pride ourselves on creating great software... There's a ton of software these days. With this method you can free yourself of another software download when you plug the lytestick into a Windows 11 PC.
Dynamic Lighting can control the Brightness, Color, and Effect of the lytestick.
While this setting is active, Windows will control the device. If you want to change to another method of control, make sure to disable this feature during that time.
Want to learn more about Windows 11 Dynamic Lighting? Learn more on Microsoft's Dynamic Lighting Page
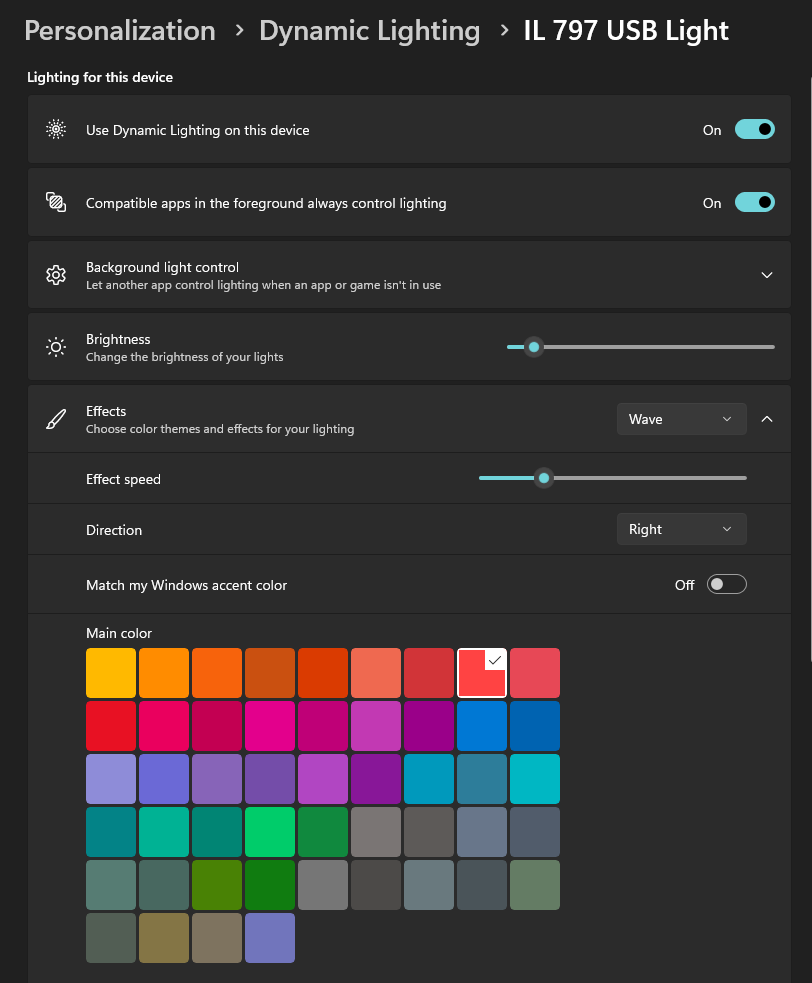
Figure 3. Windows 11 Dynamic Lighting
How to Use Windows 11 Dynamic Lighting
Check Compatibility
Ensure your PC is running Windows 11 (version 22621.2361 or higher).
Open Dynamic Lighting Settings
Go to Settings > Personalization > Dynamic Lighting. If the feature is available, you’ll see a toggle to turn it on or off.
Enable Dynamic Lighting
Toggle Dynamic Lighting to On. This will allow Windows to control the lighting effects on the lytestick.
Customize Lighting Effects
Use the available options to customize your lighting:
- Effect: Select from options like static, breathing, or rainbow effects.
- Color: Pick a color using the palette or input a HEX code for precise control.
- Brightness: Adjust the brightness slider to your preference.
USB Conduit App
Check out what we have in mind...
We've built lighting control in some very cool ways.
Of course the lytestick can strobe and fade between colors, but we're really excited about...
The lytestick can dance with music and it can match the color of pixels on the computer monitor!
Download the application below, and when you run it, simply set the COM port of the light in the settings, and voila! You've got control.
From there, you can play with basic control, and experiment with Auto (Figure 4.)
Are you a gamer? Match the pixel onto your Health bar, Status icon, etc and you'll have an outward indicator!
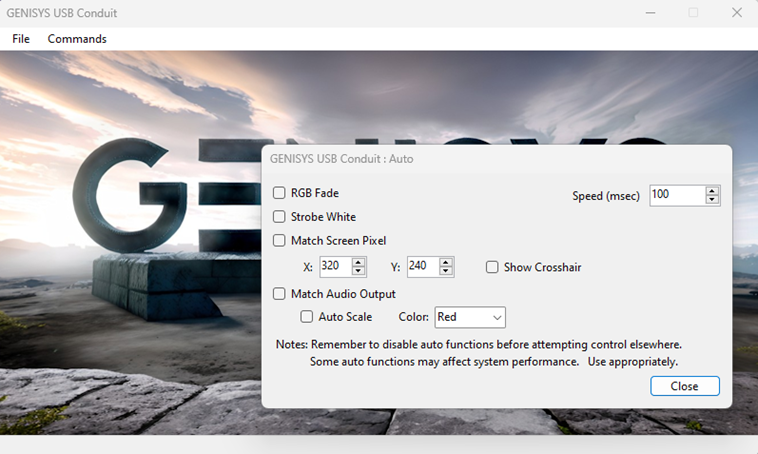
Figure 4. GENISYS USB Conduit App
Android Mobile App
Take your lytestick on the Go!
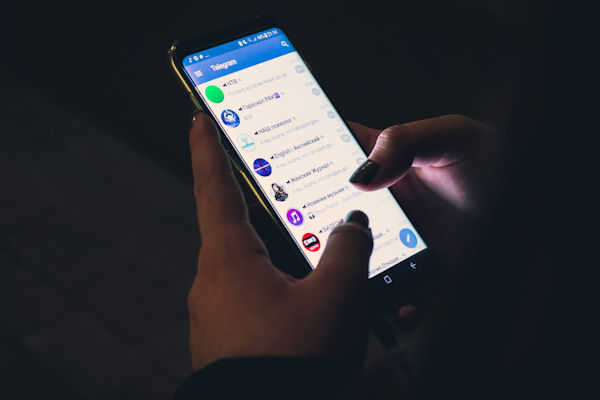
Download the lytestick app onto an Android phone and control is at your fingertips.
After installing (instructions below), the Android Phone will recognize the lytestick when it is plugged in and open the app.
Within the app (Figure 5.) you have full control of each of the RGBW colors and their intensities
IPhone app coming soon...
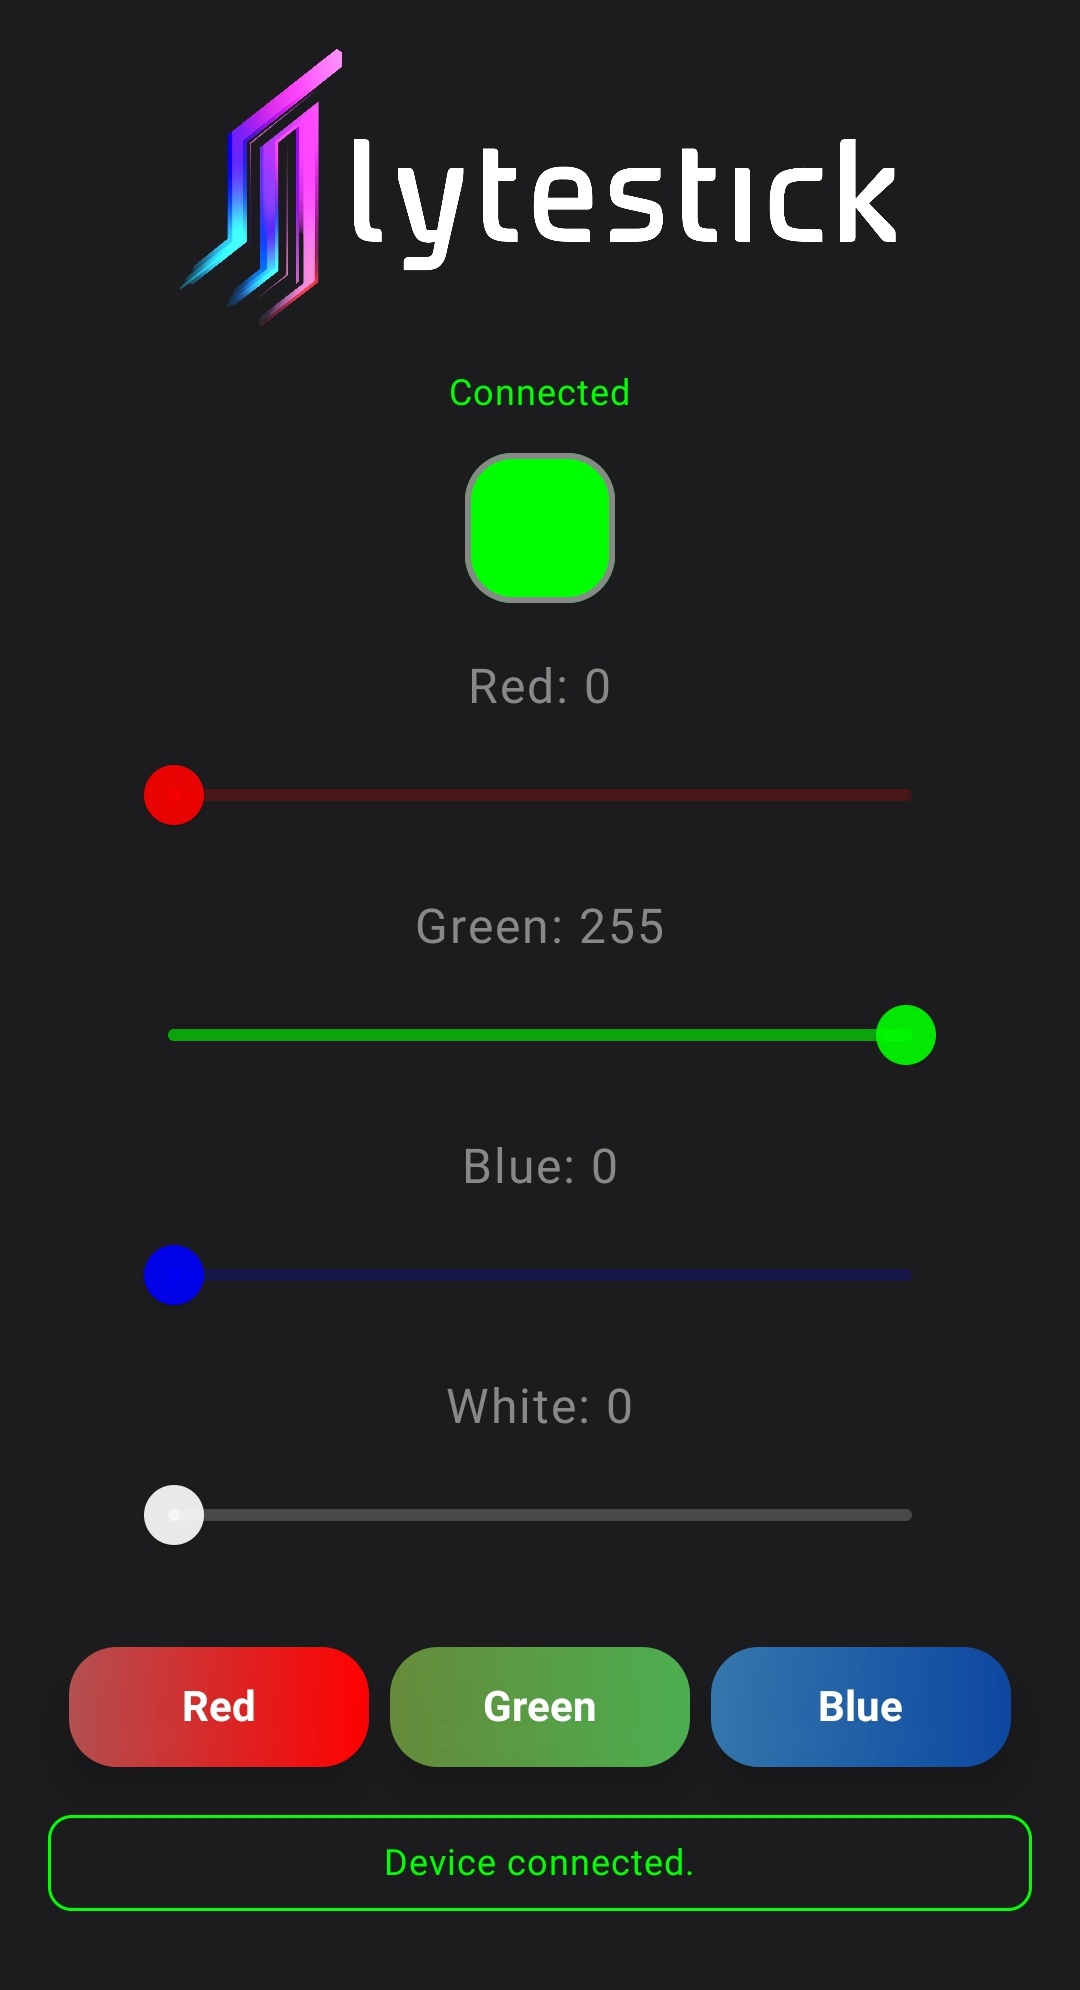
Figure 5. lytestick Android Mobile App
Custom Control
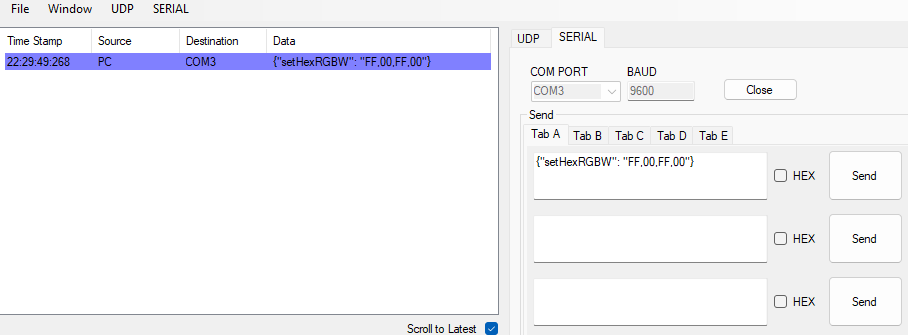
Figure 6. Custom Control Terminal
How to Send a Serial Packet to the lytestick
Identify the COM Port
Open the Device Manager on your computer and locate USB Serial Device under the "Ports (COM & LPT)" section. Note the COM port number (e.g., COM3) assigned to your device.
Locate or Install a Serial Communication Tool
Locate or download and install a terminal program like Tera Term, or RealTerm. These tools allow you to send and receive data through a COM port.
Configure Serial Communication Settings
Launch your terminal program and configure the following settings:
- Port: Set it to the COM port identified in Step 1.
- Baud Rate: 9600.
- Data Bits: 8.
- Parity: None.
- Stop Bits: 1.
- Flow Control: None.
Format your lytestick Control String
The lytestick is controlled by one big key/pair combination. Choose one of the values from the first packet, or define a specific color with the second variation:
Send the lytestick Control Packet
Enter the control packet in the program's input field and send the data. Some tools require you to press a Send button, while others allow pressing Enter.
Verify the Results!
The lytestick will change to your intended color!